The issue often lies in the folder selected for your “Sample Folder” or sound library.
To fix this issue keep in mind that The Sample folder can’t be a System Folder or a in a Cloud based drive like iCloud, Gdrive or Dropbox and need to have full user rights.
If you’ve already selected the Sample folder you can can change it following these steps exactly:
1. Close any Tribe Player 2 running app or Plugin.
2. Open the Tribe Manager application.
3. Log in to your account.
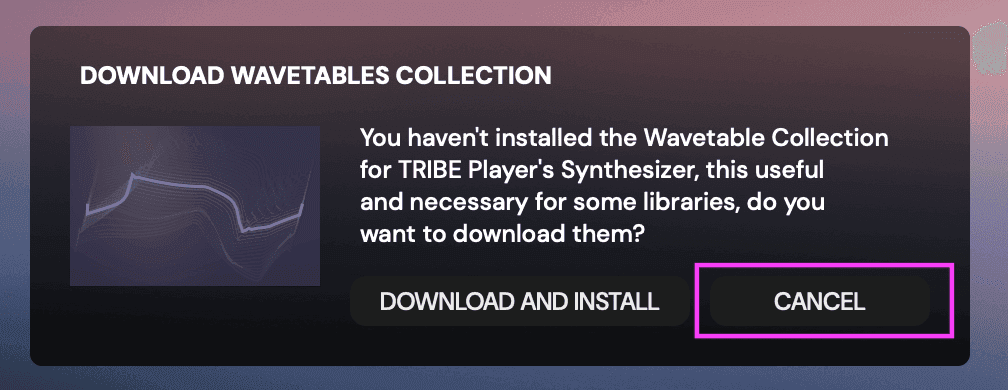
4. When the “Download Wavetables” message box appears, click CANCEL.
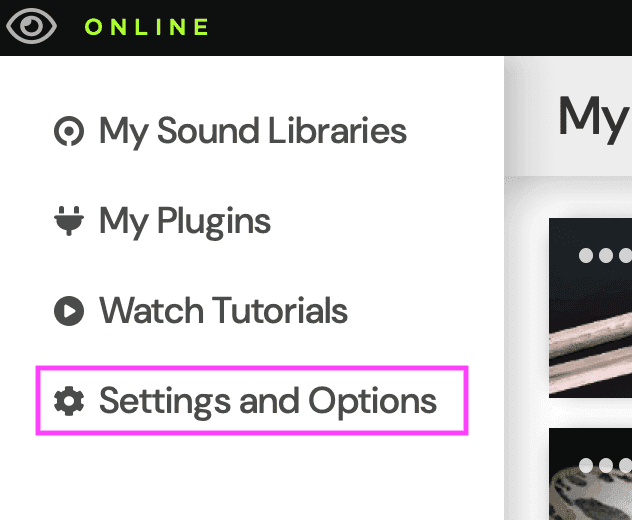
5. Then, go to the “Settings and Options” tab in the left-hand sidebar of the application.
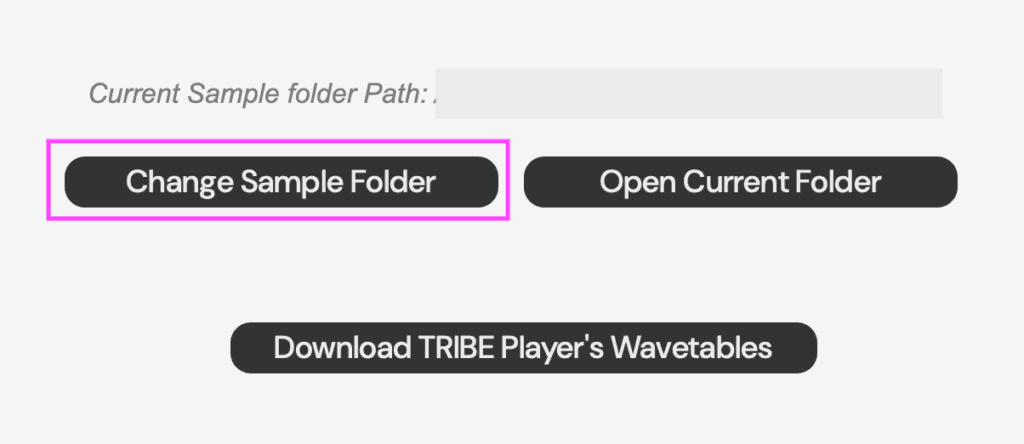
6. Click the “Change Sample Folder” button and select the folder where you want to install your libraries. Make sure to choose a folder with full user permissions, not a system folder or a cloud-synced folder like Dropbox or Drive, as these are not compatible. You can select a folder in your Documents or on an external drive.
7. Navigate to the “My Sound Libraries” button in the left-hand sidebar and click “Download and Install.” Or follow the steps from this page!
Optionally, after selecting the folder, you can download the wavetables from the “Settings and Options” tab clicking on “Download TRIBE Player’s wavetables”